Save 30% on costs with Reduxi: Intelligent connection of your Acond heat pump via Modbus TCP/IP
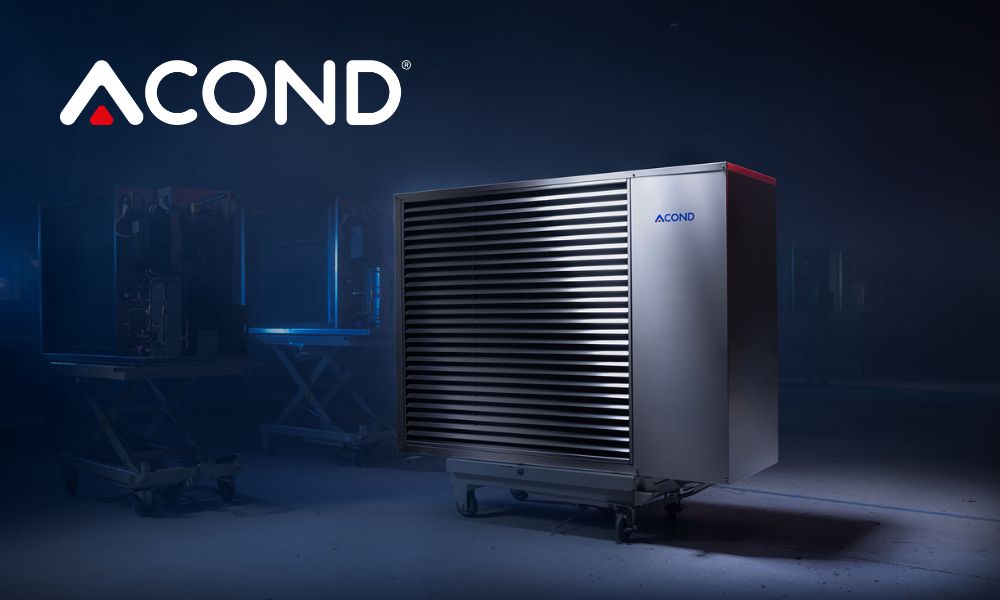
1. Necessary steps to establish communication between the Reduxi controller and the Acond heat pump
1.1 Activation of the Modbus TCP function on the heat pump
Activation and the necessary firmware update will be performed by an Acond service technician.
To schedule an appointment, please contact Acond customer service: https://www.acond.com/en#contact-us
Important: After the settings have been activated, the installer must provide you with the heat pump's IP address. We recommend using a static address. This will be required later.
1.2 Required components for connecting the Reduxi controller to the Acond heat pump.
To establish the connection between the Reduxi controller and the Acond heat pump, two components are needed:
- Reduxi Controller
- Ethernet Cable
2. Connecting the Reduxi controller with the Acond Heatpump
2.1 A symbolic picture of the entire connection from the Reduxi controller to the heat pump is displayed below:
2.2 Connect the Ethernet cable to your Acond Heat pump and the Reduxi Controller:
The Ethernet cable connection location varies depending on the model. Refer to your heat pump manual for detailed information.
After connecting the Ethernet cable to the heat pump, connect the other end of the cable to your router or a local switch. Then, follow the same procedure with the Reduxi controller.
3. Adding the heat pump as a new device in the Reduxi configurator
To add a new heat pump as a device or to edit an existing one, please follow these steps, detailed in individual points below.
3.1 Adding a device
Log in locally to the Reduxi configurator application on the controller and press the Add device button:
3.2 Select the device you would like to add
In the first step (basic settings), select the basic parameters of the device you want to add:
- Device type: HVAC,
- Type: Acond
- Name: Specify the name of the device, for example: Acond Grandis
After everything has been entered, press "Next".
3.3 Communication channel
Here you have to fill in the Information about the connection to the device:
- Connection: TCP/IP
- IP: Enter the IP Adress, you recived from the Acond technican
- Port: 502
- Modbus Adress: default 1, but this information comes also from the technican
3.4 Communication test
The communication test is carried out with the help of the "Test communication" button, located on the lower right side after all the parameters fields of the communication channel.
The communication test can return two answers:
1. Communication is working properly, picture below:
2. Communication is not working properly, the picture below:
3.5 Last measurements
After successfully establishing communication with the newly added device, its values can be checked under Devices - Acond Heat Pump in the Reduxi configurator as an additional test.
For advanced heat pump control, integrate the device into the Reduxi system strategy. Under Devices - Acond Heat Pump in the Reduxi configurator, the control type must be set to AUTO so commands for strategy will affect the heat pump.
To achieve maximal flexibility and energy cost reduction with respect to dynamic price and dynamic tariffs please follow the instructions on how to define strategy at this link: Strategies for Reduxi controller.
After successfully adding the device and checking the values, the device can be inspected and controlled also via the Reduxi application.